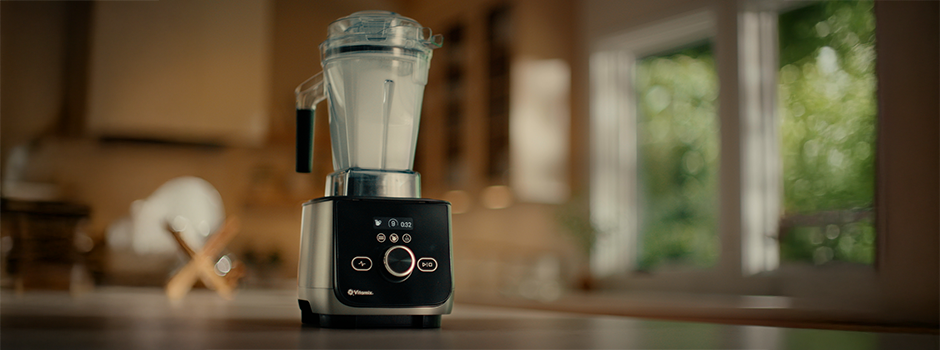
Regular cleaning keeps your Vitamix looking clear, performing efficiently, and ready for whatever you blend next. A quick clean after each use removes residue before it has time to build up, while occasional deep cleaning helps restore clarity if your container becomes cloudy or stained.
Follow these steps for both everyday cleaning and deep cleaning.
Everyday Cleaning
1. Rinse Immediately After Use
After blending, rinse your container thoroughly with warm water. Doing this right away prevents ingredients from drying and sticking to the sides or blades.
2. Use the Self-Cleaning Method
For a thorough clean, fill the container halfway with warm water and add a few drops of dish soap.
Secure the lid and start the blender on its highest speed for 30–60 seconds.
If your Vitamix model has a Self-Cleaning Program, select that setting instead.
Rinse the container and lid thoroughly with warm water.
This method keeps the interior clear and minimizes buildup from smoothies, soups, and sauces.
3. Clean Accessories and Lids
Wash the lid, lid plug, and tamper in warm, soapy water, or place them on the top rack of the dishwasher if your model allows. Check your owner’s manual for specific dishwasher-safe guidance.
4. Wipe the Motor Base
Use a soft, damp cloth to wipe the base clean. Never submerge the motor base in water or place it in the dishwasher.
5. Air Dry
After rinsing, invert the container on a drying rack or towel to air dry completely. This helps prevent odors and streaks.
How to Deep Clean Your Vitamix Container
If you notice a cloudy film, dull residue, or stains that regular cleaning won’t remove, it’s time for a deeper clean. Over time, natural minerals from fruits, vegetables, or hard water can build up on the inside of the container, causing it to look cloudy.
1. Vinegar Soak
This is the best first step for removing film and mineral buildup.
Pour 1 cup of white vinegar into the container.
Add warm water until the container is about halfway full.
Let it soak for several hours, or overnight for heavier buildup.
Empty the mixture and scrub gently with a soft pot scrubber or sponge.
Rinse thoroughly and wash again using the self-cleaning method (water and dish soap blend) to remove any vinegar scent.
This method helps dissolve mineral deposits and restore the container’s shine.
2. Baking Soda Paste
If cloudiness remains after soaking, create a mild abrasive paste.
Mix baking soda and water until thick, similar to toothpaste.
Apply the paste to the cloudy areas using a soft cloth.
Rub gently in circular motions, avoiding the blades to prevent injury.
Rinse thoroughly and wash again with soap and water.
Baking soda helps lift stubborn residue without scratching the surface.
3. Removing Food Stains
Ingredients like turmeric, curry, and berries can sometimes leave behind color stains. After cleaning, place your container in direct sunlight for a day or two. Sunlight can naturally fade stains without chemicals or abrasion.
Preventing Cloudiness
To keep your Vitamix container looking clear and new:
Always rinse and clean immediately after each use.
Perform the self-cleaning cycle daily if you blend frequently.
Use warm (not boiling) water for cleaning.
Avoid harsh scrubbing pads or abrasive cleaners that may scratch the container.
If you live in a hard-water area, perform a vinegar soak once a month to prevent buildup.
To Recap
Regular cleaning prevents buildup, extends the life of your Vitamix, and keeps your blends tasting fresh.
After every use: rinse, self-clean, and air dry.
Occasionally: deep clean with vinegar or baking soda if your container becomes cloudy or discolored.
With these simple steps, your Vitamix will stay as clear and high-performing as the day you brought it home.
Related Articles
Try Related Recipes

How Your Vitamix Can Help You Achieve a Clean Eating Lifestyle
Making the switch to a clean eating lifestyle is quite simple. But if you’re accustomed to eating frozen dinners and boxed snacks, this transition may understandably seem a bit intimidating.
How Your Vitamix Can Help You Achieve a Clean Eating Lifestyle
Making the switch to a clean eating lifestyle is quite simple. But if you’re accustomed to eating frozen dinners and boxed snacks, this transition may understandably seem a bit intimidating.