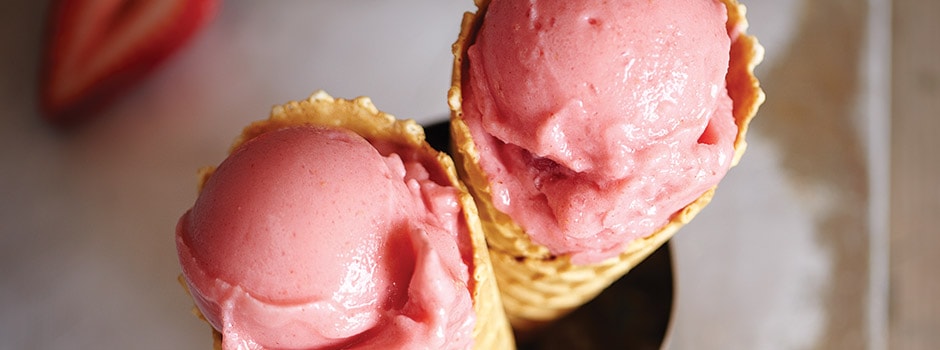
Frozen desserts are a summer staple. And while it’s always fun to take a trip to the local ice cream shop to get your favorite scoops, you can make your own DIY frozen desserts at home with simple ingredients and a high-powered Vitamix blender.
The good news? Homemade treats can be just as tasty as the store-bought stuff, but give you the ability to incorporate healthful ingredients—like whole fruits and (yes!) veggies—and leave items like additives and excess sugars out. Making your own frozen treats also provides the opportunity to fuel your creative streak and try flavors or combinations you can’t find on store shelves—peach and ginger, spiced berries, matcha … even White Sesame Nice Cream. If you’ve got kids, blending new ingredients in something as familiar as ice cream can help to expand their pallets, and provide some hidden nutrients.
With all of these benefits, prepping your own frozen treats is a no-brainer. What are you waiting for? You’re four steps away from blended summer bliss.
Step 1: Consider your options
While ice cream may be your go-to frozen treat, you can also make frozen yogurt, sorbet, a freeze, ice, or even nice cream (dairy-free fruit-based ice cream) in a snap! It all depends on your mood, your dietary preferences and ingredients on hand.
Dairy-free diners and vegans have more frozen dessert options than ever, with a sorbet, ice, or a nice cream, like this Blueberry Avocado Nice Cream.
To get the most whole foods in your frozen treats, try a Carrot,Ginger, and Orange Ice.
If you just want dessert in a hurry, with few ingredients, a Banana Freeze is a great option.
Want to strike out on your own? The ideal ratio for frozen desserts is 1 cup frozen to ¼ cup liquid. Stick to that proportion and you won’t end up with a smoothie when you want ice cream.
Step 2: Begin Your Blend
Let your frozen fruit sit for a few minutes to slightly thaw. This will help create a silky texture in the finished dish.
Next, add all ingredients to your Vitamix container (starting with liquids and ending with the heavier items), select variable 1, and slowly increase to your machine’s highest setting for best results.
Step 3: Don’t Forget the Two Ts: Tamper and Timing
Use the tamper to press ingredients down to ensure a smooth blend. Use quick, repetitive strokes.
If you run the machine for more than a minute, melting can occur. When the sound of your machine motor changes and you see four mounds.
For more help, check out our Tips & Tricks page.
Step 4: Serve or Save
If you’re looking to serve immediately, stop reading here. You’ve made it to the finish line–go enjoy your sweet snack!
To make your frozen dessert even cooler, scoop it into a serving bowl and place it in the freezer for 30 minutes. It will come out a little firmer and with a frosted texture.
Waiting to indulge? Store your frozen treats in an airtight container. When you are ready to eat, add a bit more liquid and re-blend your treat to get that smooth texture—that will make for easier scooping. Or, you can freeze the blend in ice cube trays, then pop out and blend when you're ready to serve.
It’s time to embark on your own icy-cold, decadent adventure. Share your frozen dessert recipes #myvitamix, or get more inspiration with 9 Healthier Frozen Treats Your Kids Will Love .