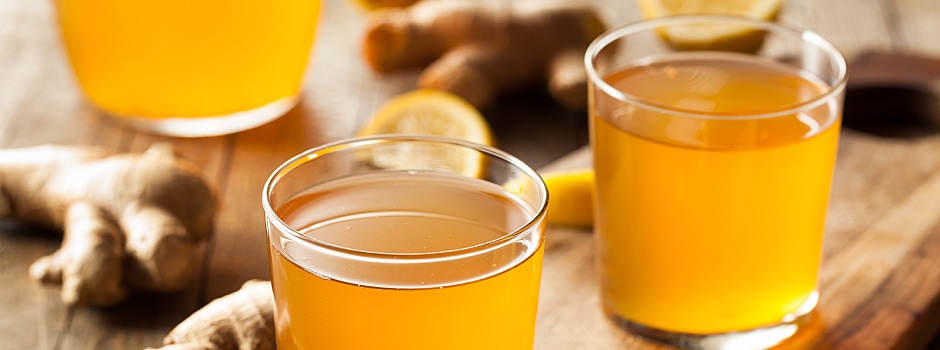
With kombucha popping up in more stores all the time, you're probably wondering how hard it would be to start brewing kombucha on your own at home. Should you do it? Could you do it? What supplies do you need? The good news is that making your own kombucha is totally doable. You just need the right supplies and instructions. From the right gear to insider tips, here are the details you need to know to create a healthy home brew.
Necessary Supplies
Making kombucha starts with the right tools, and luckily, most are easy to find. In fact, you might already have them in your kitchen. The one unusual ingredient is a SCOBY, which stands for symbiotic colony of bacteria and yeast. A SCOBY is also sometimes called a kombucha "mother" or "mushroom." You can order one online, get one from a friend who brews their own kombucha, or grow one yourself. Once you have a SCOBY, here are the other supplies you'll need:
- 13 cups filtered water
- 1.5 cups sugar
- A wooden spoon
- 5 plain tea bags
- 4-quart glass bowl (not metal, which can compromise the kombucha's quality over time)
- 8 ounces kombucha starter (from a bottle of raw, unflavored kombucha)
- Transparent adhesive tape
- A thin, clean white towel
- A big rubber band
- A funnel
- Glass jars, pitchers, or other containers
The Process
To start your own batch of kombucha, pick an afternoon or weekend and gather all your ingredients and supplies. Then follow these steps one by one:
- Boil water. Set a large pot on the stove, add three cups of filtered water and bring it to a boil over medium heat.
- Add sugar. Add sugar to the water, stir the mixture with a wooden spoon until it's fully dissolved, and then remove the pot from heat.
- Steep tea bags. Add five tea bags to the sugar water, steep them for 10 minutes, and then remove the tea bags.
- Cool mixture. Carefully pour the mixture into the glass bowl, and let it sit on the counter for two hours, or until it's fully cooled.
- Add starter and SCOBY. Add the kombucha starter and the SCOBY to the glass bowl.
- Cover. Apply strips of transparent adhesive tape from one side of the top of the bowl to the other, crisscrossing them to create an even layer. (This will help prevent the towel from accidentally falling into the bowl and contaminating your kombucha.) Lay the thin, clean white towel on top of the tape, pull it taut, and use the rubber band to secure it around the top.
- Store for a week or more. Place the covered bowl in a dim, ventilated area. Leave it there for seven to 10 days. During this time, the kombucha mother will feed off the sweetened tea, building a mirror SCOBY off its body. This second SCOBY is sometimes called the "baby." You'll know the kombucha is done brewing when the baby is fully formed next to the mother.
- Strain kombucha. Once the kombucha is ready, pour it from the glass bowl through a towel-lined funnel and into your glass jars or pitchers. Store these jars of kombucha in the refrigerator, flavoring them with fruit or other desired additions.
- Repeat. After each batch of kombucha finishes, repeat the entire process. The extra SCOBY may be used in another batch, given to a friend, or discarded.
Tips to Keep in Mind
Once you have the basic idea down, brewing kombucha is a simple process. Here are a few things to keep in mind:
- Avoiding Metal: As stated above, avoid using metal utensils of any kind. Metal spoons, bowls, and strainers can all affect your home-brewed kombucha. They may even add a metallic flavor to the batch.
- Flavoring the Kombucha: After you have the hang of brewing kombucha, you may want to experiment with different flavors. While traditional black tea is ideal for brewing kombucha at the beginning, once you're comfortable, you can try another type of tea. You can also add fruit to your finished kombucha, leaving a little space in each airtight glass container and letting the mixture sit for two to 14 more days.
- Adjusting the Acidity: If you find your finished kombucha to be too sweet or too acidic, try adjusting the length of fermentation. Starting on the seventh day, start tasting the mixture once a day. When it tastes the way you want it to, stop the fermentation process.
The beauty of making kombucha at home is finding a way to master making a beverage you love. What's more, brewing your own kombucha is fun, saves you money, and allows you to customize the flavor. Use the tips above to get started on your own kombucha journey today.


